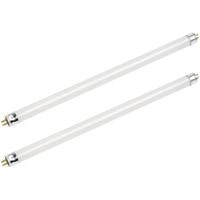
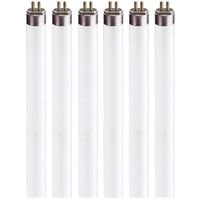
How to remove Fluorescent light bulb. They give off plenty of light while using less energy. Fluorescent bulbs require replacing from time to time, just like any other kind of bulb.
Fluorescent bulb connectors known as tombstones have a little slot where you can easily remove and install the bulbs when needed for replacement.
Bulbs with dark or brown ends need to be replaced, so you should make sure to check them often to ensure consistent lighting throughout your home and workplace or place of business.
You can buy replacement fluorescent bulbs at hardware stores and home improvement centers.
How to remove Fluorescent light bulb
Fluorescent lights get a bad reputation. Many people don’t know how to care for them and end up buying completely new lighting fixtures because their old fluorescent bulbs stopped working.
Fluorescent light bulbs have a lifespan of about 10,000 hours, so as long as you give them proper care and maintenance they should last quite some time.
So before you shell out cash on new lights, check out these quick fixes to remedy the situation.
Pull out the bulb
Unplug the bulb and twist it 90 degrees clockwise using both hands. Grasp one end of the bulb firmly, but with a gentle amount of pressure, and pull it straight down to remove from the socket.
After removing this step should be easy after that because gravity may assist you in freeing up the other end.
Keeping firm pressure on one end as you pull at the other, lower the entire bulb straight down into the socket.
Take off the end cover
To remove the fixture, unscrew one of the top or bottom bulbs to free it. Doing so will allow you to work more easily with your existing light fixtures and have them looking better than ever even if they are over a decade old.
This can be done on most single-bulb and four-bulb chandelier lights by installing a candelabra bulb in place of the original incandescent element.
This change requires lower wattage bulbs and will reduce power usage while still maintaining meaningful ambient light levels throughout your home.
Disconnect the fluorescent light socket
Replace the fluorescent light by disconnecting the old socket from the fixture. When removing the cable wires, some have an additional piece of covering called a “wire nut”. Remove this nut and set it aside to reuse later.
Next, remove each individual wire from the existing socket. If there are more than 2-3 wires on your new socket, trim them as necessary in order to match your existing wiring configuration as closely as possible.
In each terminal slot inside of your new socket is what feels like a barbed fishing hook that basically acts as a wire anchor once you insert it in.
So don’t worry about accidentally losing your wires when reattaching them to their original position after putting your new socket into place.
View from close up
Now you have a few options depending on what the issue is with your fluorescent fixture. If your fixture won’t light up at all, check the circuit breaker or fuse box and make sure that it was turned on when it should be.
Alternatively, if the switch has a chain hanging down from it then try using that chain to cycle through different lights in your house.
If replacing any of these doesn’t solve the problem then there may be power going to the light but still not reaching the bulbs inside.
It’s easier to replace the entire bulb than to diagnose and repair each either so definitely save yourself some time and work by doing this instead of throwing money at things such as hiring an electrician.
Spending huge amounts on replacement fixtures only for them to fail you too or even worse, buying a model straight from China (they do arrive sometimes mind you but they are poorly made most times and have terrible quality issues).
How to remove Fluorescent light bulb
Related Guides