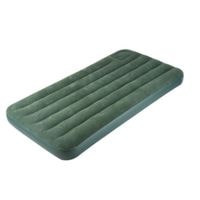
How To Patch An Air Mattress With Duct Tape. If you don’t have a patch kit and need to repair your air mattress, you may not require something as elaborate and difficult.
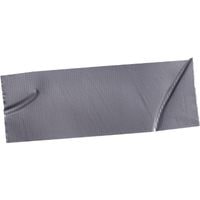
Duct tape is much better. That should be plenty for the time being. In this post, we’ll show you how to quickly mend an air mattress using duct tape using an ultra-simple step-by-step tutorial.
After all, it’s only a basic do-it-yourself home project, so go ahead and get started! Duct tape may already be in your possession.
How To Patch An Air Mattress With Duct Tape
In this article, we show you how to patch an air mattress using duct tape.
Locate The Leak
The Soapy Water Trick is an excellent method for detecting leaks in rubber or vinyl.
To do so, simply inflate your mattress as you normally would when using it.
Then squirt soapy water all over the area. If your mattress has any holes, bubbles will emerge where the holes are.
Inflate your airbed and use a hairdryer to dry out any bubbles that develop once you’ve detected them.
Label The Leak
One technique to find a leak or hole in your air mattress is to make a note of the location. You’ll have to redo the locating procedure if you don’t, which may be a pain.
However, there are methods for quickly locating leaks. Depending on what you have on hand, you may use a marker pen or a highlighter.
Deflate The Airbed
You should deflate your mattress while identifying the source of the leak. It’s not required to completely deflate it.
But having a carpet of weaker air below you rather than a thick layer of it will make it much easier to act when the patch is placed.
Cleaning Leaking Area
Scrape out all the hairs and other undesired things caught up in the hole using a scuffer, razor, or any other sharp tool so that the patch will fit nicely.
Use caution while using these instruments; don’t push too hard or the product may rip.
Cutting Patch
When fixing a leaking air mattress, I recommend rounding off the corners on the repair patch kit a bit more or cutting out a circle patch for greater grip.
A rectangular one is usually included in the package, as two of those circles overlapping at right angles would fill more of the hole per surface area, resulting in a stronger seal.
Applying Glue
If you want your airbed repair to endure longer, you’ll need to use a strong adhesive. To begin, apply some adhesive to the hole and the patch.
Apply at least 3-4 times to ensure that both layers are adhered to each other rather than just once.
Seal The Hole
Finally, pull the patch away from the paper backing, being careful not to contact the glue.
Then, press the clear patch onto the damp area you want to seal for at least five minutes. Finally, seek a window or door that does not leak.
FAQs
Is duct tape suitable for repairing air mattresses?
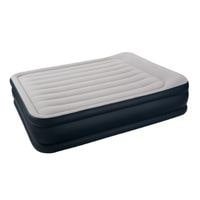
When the room is limited, airbeds are an excellent alternative to normal beds. If not properly cared for, even the greatest airbeds can suffer from leaks and inadvertent rips.
But have no fear. You can quickly repair an airbed with duct tape, super glue, or even nail paint.
Can Gorilla tape be used to patch an air mattress?
Patchwork is made easier using a Gorilla waterproof patch and seals tape, which bonds tightly to vinyl. Do not use glue to adhere the tape to the patch; this will make it waterproof.
If you want to use a patch kit later, don’t use gorilla tape since it may harm the air mattress when removed. On an air mattress, ordinary Gorilla Tape should not be utilized.
Related Guides
- Maytag Fridge Leaking Water
- How to remove 3m double sided tape
- How To Remove Gorilla Glue From Glass