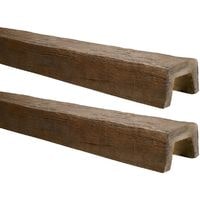
How to make faux wood beams from Styrofoam. Make your own building-grade beams without remodeling with these foam insulation sheets.
Boasting a beautiful woodgrain pattern, these synthetic beams are easy to install and require no framing or permits in most areas.
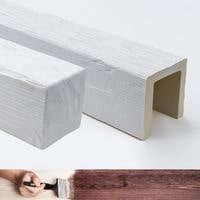
Their lightweight design makes them ideal for any room in the home, including high ceiling rooms where actual building materials might cost too much.
They’re also easier to work with than live beams, especially when needing to install them over existing structures like a ceiling grid.
How to make faux wood beams from Styrofoam
To create faux wood beams from styrofoam, you need to simply cut up insulation sheets into boards. Glue the boards together with spray adhesive.
After it’s dried, add a few more layers of spray adhesive for extra support and protection against cracking later down the line.
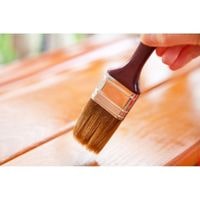
Once all of your boards have been glued in place, paint them dark brown with acrylic paint so that they simulate natural wood grain.
Finally, dry brush a lighter wood tone over the top of your faux wood beams to create detail and definition within the finished product.
Make cuts in the insulation sheets
Cut the insulation sheets into boards. The thickness of the individual boards should match the distance you want them to extend down from the ceiling. They must be as flat as possible, having no warps or bends.
Put glue on the boards
While foam itself is a reliable material for construction, it can be weakened by things like water should you choose to place your project near a lake or some outdoor body of water.
In this case and under these circumstances damaging elements can pass through the board so it would be best if you glue all four sides together as opposed to just three.
The same goes when placing projects that have electrical power sources running through them, as doing so will allow moisture or other elements such as dust, dirt, or sand to seep in and damage the project.
For this reason, we recommend using hot glue instead of standard glue when joining pieces of 4-sided boards together making sure to bolt on any adjacent surfaces first to minimize movement and
reduce their chances of coming apart during the gluing process. The glue must be allowed to dry completely.
Simulating wood grain
To give your beam a wood grain texture, drag the wire dog brush across the top to add the first surface shade.
While it’s still wet, you can use a nail to carve in knots and other imperfections into the beam’s surface.
For an aged effect on your beam, tear out pieces of foam along the edges to reveal more of its under-construction structure. The more irregular your finished texture is, the more realistic it looks.
Paint the Beams
Because the natural wood beams on your ceiling will already be a rich source of color and detail, you don’t have to repaint them. Instead, prime the surface by applying a coat of dark brown paint.
Wait for this color to dry before you begin painting. The acrylic paint provides a flat surface that
prevents your colors from soaking too deeply into the actual wood, maintaining an original and aesthetically-pleasing appearance when your project is finished.
Apply a lighter wood color
To achieve this effect, one could use darker paint color to cover the beams previously coated with lighter shades of warm color.
The use of a dry brush will allow for a lighter application on the pieces of wood that are raised in the design, bringing about an illusion of age and imperfection in the product.
Screwed Solid beams every foot
As you screw each beam into place, have someone hold each beam while you screw them. Use 3″ wood screws inserted at a 45-degree angle through the foam and into the ceiling.