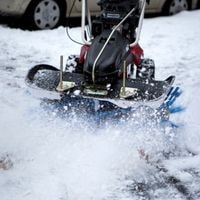
How to clean a snowblower carburetor. Carburetors can be found in all kinds of machines, ranging from motorbikes and cars to lawnmowers and chainsaws, and even snowblowers.
When your snowblower doesn’t start or runs poorly, it may need a simple tuneup, but if you continue to use the machine without fixing it, you run the risk of damaging other components as well as hurting those around you as engine fumes don’t mix well with people,
Cleaning your snowblower carburetor by taking apart its components and removing gunk or debris that has clogged up the machinery is easy. Just follow our steps below.
How to clean a snowblower carburetor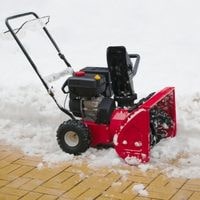
Remove the carburetor bowl, float bowl, and flathead. Spray and clean the dirty carburetor with a carburetor cleaner, removing debris with a cloth. Let it sit to remove impurities.
If you are enabled to clean it sufficiently this way, submerge the snowblower carburetor in liquid carburetor cleaner so all three pieces can soak thoroughly in order to dissolve any impurities that may be present.
Snowblower should be turned off
Make sure that the blower is turned off before you begin work. Cool the equipment down for a while until you’re able to use it without being in danger.
Disconnect the carburetor bowl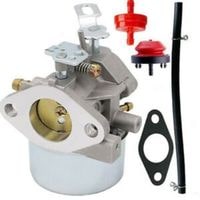
Once you have located the carburetor, remove the fuel supply so that the carburetor bowl may come off easily.
If this happens to be your first time doing so, then the owner’s manual for the snowblower carburetor will work best to give you an idea about which parts are specifically related to that part of the machine and where they should go.
Now you will see dirt, liquid, or concentrated fuel on the inside of the bowl. Get yourself a wiping cloth and vacuum cleaner because we are about to do some serious scouring.
Clean the carburetor bowl and fuel jet
To clean the bowl, spray some carb cleaner on it and wipe it down with a cloth until it becomes free of dirt and residue. Do this for both the bowl and the jet; then, take up the jet and repeat this process.
Spray and wipe away and make sure there is no more debris or dirt on the surface. Using a wire brush will help avoid scratching the brass and getting into precision-sized holes on this part, as well as others throughout your bike’s fuel system.
As you finish with this step, make sure to test the spray once again. If droplets come out of all the tiny jets in the fuel line, most likely, there is no longer a clog in any of these pieces.
Go to the emulsion tube area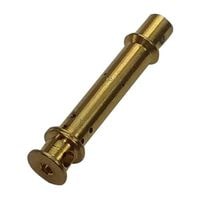
The carburetor needs to be cleaned. There are three key areas related to cleaning the carburetor, including the fuel lines, the float bowl, and the needle attached to the float bowl.
Start by soaking a rag with carb cleaner and spraying it around the area surrounding the fuel line, which should help dissolve any grime or other residues, if present.
Next, take off both of them together. One side has a floating bowl that helps mix fuel with air for an even mixture which you should make sure stays properly aligned when putting back on by sliding it back into position over its corresponding needle.
The other side will have a fixed needle that helps transfer fuel into the engine’s cylinder and mixes together with air by drawing it up via suction created by air traveling past its flappy wings. Now simply wipe this down before reattaching his little buddy so they can get back to work together again quickly.
Carburetor bowl should be adjusted
Take the fuel jet and carburetor and put them near the emulsion tube, which has a rubber gas kit in place.
Make sure the system is set up correctly so you can eliminate running issues, seal everything properly and remove any air leaks from around the tank, so you don’t have to worry about your quad suddenly hating your guts because of a tiny leak.
Make sure the small holes are clean
Cleaning the small holes in the carburetor would be the next step. By doing so, you can remove any impurities that may have settled in those areas.
Make sure the holes are cleaned properly. Repeat this process once or twice to ensure you get all the debris.
Using air to clean
After you have removed the impurities from the holes, blow some air into them. If there are any items still in the holes, blowing air into them will remove them.
You can remove any remaining debris that could affect the machine by blowing air into each hole. It is important to turn on and activate any drainage for this procedure to work effectively.
Conclusion
How to clean a snowblower carburetor. If you are at the point where you are removing your snowblower carburetor to clean it, that means that there is no other choice but to do it. Whatever you may think, however, removing the carburetor still requires some precaution in order to prevent dirt from getting inside the machine in the first place.
Related Guides